Installation Process of a Shingle Roof: What to expect
If you've signed a contract for a new asphalt shingle roof, you're on your way to a stronger, more reliable home. Asphalt shingles are one of the most popular roofing materials in the United States due to their affordability, durability, and aesthetic appeal. But what does the roof installation process actually look like from start to finish? Here's a step-by-step guide to help you understand what to expect during this project, from the initial inspection to the final walk-through.
Step 1: Roof Inspection and Preparation
Depending on how you are proceeding with your project, you may or may not have already signed a proposal. Regardless of what has been signed, the first step in any roof project is to conduct a thorough inspection of your roof. This ensures that the contractor has verified the scope of work and discovered any items that may need to be included.
-
Detailed Inspection: The contractor will check for damaged decking, ventilation issues, or weak areas that might not have been visible during the initial estimate.
-
Permits: Your contractor will then pull any required permits with your local building department. This step ensures the work meets building codes and allows for official inspections.
-
Material Delivery: Your chosen shingles, underlayment, and other roofing materials will be delivered, often a day or two before installation begins. Materials are usually staged on your property or directly on the roof to save time.
-
Dumpster: On the morning the project starts the dump truck or dumpster will be pulled up next to the house in the driveway. If the dumpster cannot be pulled up to the house, you will need the roofers to throw materials to the ground and then carry them over to the dumpster. This adds extra cost, and is a lot of extra work for the roofers. Extra cost will be included in your quote. The path that materials will be disposed of from the roof should be agreed on before the start of the project.
-
Make sure your driveway or staging area is clear for the dump truck. The roofers will need to dispose of the old roof by throwing materials from the roof to the dumpster.
-
Make sure anything fragile in your house is secured. There will be people walking and handling heavy materials on your roof, and there will be some shaking. Glassware and pictures can risk falling.
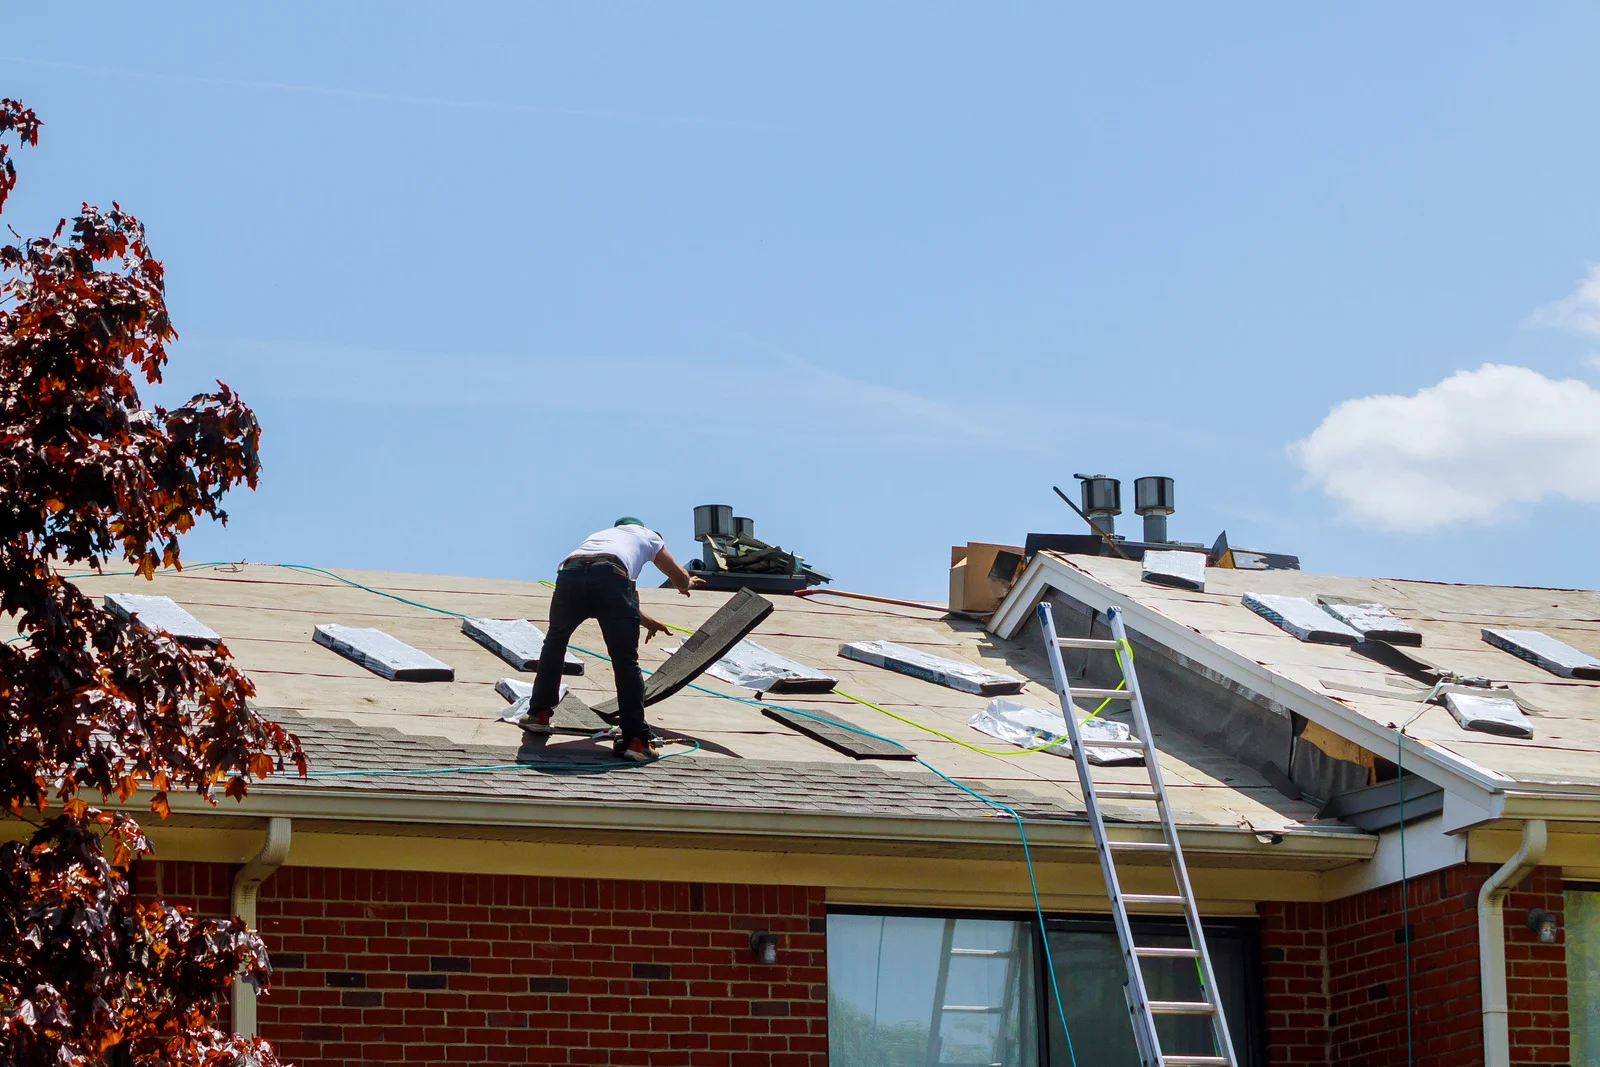
Step 2: Tearing Off the Old Roof
The first day of work begins with the tear-off process, which involves removing the old roof. Your contractor will typically start early in the morning.
-
Shingle Removal: Crews use specialized tools like shingle scrapers and roofing forks to tear off the old shingles and underlayment.
-
Debris Management: As old materials are removed, they are collected in tarps, dumpsters, or dump trailers to keep your property clean. Many contractors use plywood or protective coverings to shield landscaping and siding.
-
Inspecting the Decking: Once the shingles are off, the contractor will inspect the wooden roof deck. Any rotted or damaged plywood will be replaced to create a solid foundation for the new roof. This step is crucial, but can be tricky to assess beforehand due to the damaged material being concealed by the old roof.
Step 3: Roof Repairs and Preparations
Before the new roof components are installed, the team will perform necessary repairs and prepare the roof deck for the new shingles.
-
Decking Repairs: Damaged plywood will be replaced with fresh decking material. This may come at an additional cost if not specifically included in the scope of work.
-
Drip Edge Installation: A drip edge, which is a metal strip installed along the eaves and rakes, prevents water from getting under the edges of the roof and protects the fascia.
-
Ice and Water Shield: In climates prone to ice dams or heavy rainfall, a self-adhering waterproof membrane is installed along eaves, valleys, and roof penetrations. This barrier protects against water infiltration caused by ice dams or wind-driven rain.
-
Synthetic Underlayment: A layer of synthetic underlayment (or felt) is installed over the decking to act as a moisture barrier. This protects the home if shingles are ever compromised.
When the roof is torn off and the wooden deck is exposed, you will identify if wood needs to be replaced and how much. This is a critical step where homeowners often have bad experiences. We strongly recommend having agreed-upon rates for different types of wood repair and making sure those rates are fair. Homeowners risk being in a position where the roof is part way done and a contractor has the leverage to charge whatever they want for the wood repairs to get the project finished. See our guide on roofing change orders for more info on wood repair.
At this point, the roof is watertight and should be able to resist weather exposure without leaking until the shingles can be installed.
Step 4: Installation of New Roof Components
Now that the roof is fully prepped, the actual shingle installation begins. This is where your new roof starts to take shape. Here's how it happens:
1. Starter Shingles
Starter shingles (also known as starter strip) are installed along the eaves and rakes of the roof. These specially designed shingles create a base layer that prevents wind-driven rain from penetrating the edges of the roof.
2. Shingle Application
Shingles are installed from the bottom of the roof upwards, following specific patterns to ensure proper overlap and alignment.
-
Nailing Technique: Shingles are secured using roofing nails driven into precise nailing zones. Most manufacturers recommend 4 nails per shingle, but 6 nails may be used in high-wind areas for added security. Nails must be seated firmly, but without damaging the shingles or underlayment.
-
Proper Overlap: Each shingle row overlaps the previous row, forming a watertight barrier. Proper alignment ensures the roof looks uniform and performs as intended.
-
Valleys: In roof valleys (where two roof planes meet), contractors use either a "closed-cut valley" or an "open valley" system with metal flashing. Both methods ensure water is channeled off the roof properly.
3. Flashing Installation
Flashing, typically made of aluminum or galvanized steel, is installed around chimneys, vents, skylights, and any other roof penetrations to prevent leaks. This is a critical step to ensure long-term water resistance.
4. Ridge Vent and Ridge Cap Shingles
Once the field shingles are complete, a ridge vent system may be installed along the peak of the roof to allow proper attic ventilation. Special ridge cap shingles are applied over the ridge vent to create a finished look and seal the roof.
Proper ventilation is key to extending the life of your new roof. It prevents heat buildup and moisture damage in your attic.
Step 5: Final Cleanup and Inspection
With the new roof fully installed, the contractor will complete final cleanup and ensure the project meets local codes and manufacturer standards.
-
Cleanup: Crews will remove all debris, sweep for stray nails using magnetic rollers, and leave your property looking clean.
-
Final Inspection: A city or county inspector may perform a final inspection to ensure the work complies with local building codes.
-
Contractor Walk-Through: Your contractor will perform their own quality check and may conduct a walk-through with you to review the finished roof and address any concerns.
What to Look for When the Roof is Complete
Once the roof is complete, it's essential to perform a thorough inspection. While your contractor will conduct their own checks, homeowners should know what to look for to ensure quality work and identify any potential mistakes.
-
Shingle Alignment: Check that shingles are evenly aligned and lie flat across the roof. Crooked or bumpy shingles could indicate improper installation.
-
Flashing Details: Inspect areas around chimneys, vents, and skylights. Flashing should be securely fastened and sealed to prevent water intrusion.
-
Nail Placement: Look for exposed or improperly driven nails. Nails should be flush with the shingle surface and not sticking out or overdriven.
-
Roof Edges: Ensure that the drip edge is properly installed and that no shingles overhang excessively. Overhanging shingles can be damaged by wind.
-
Ventilation: Confirm that ridge vents, soffit vents, and other ventilation components are installed as planned. Proper ventilation prevents heat and moisture buildup in the attic.
-
Debris and Cleanup: Walk around your property to ensure no debris or stray nails were left behind. Contractors should use magnetic rollers to collect nails.
-
Water Flow: Watch for potential water pooling areas, especially in valleys or near roof penetrations. Proper water flow prevents leaks and ice dams.
Common Mistakes to Address
-
Improper Flashing Installation: Flashing errors are a common cause of roof leaks. Ensure all flashing is properly sealed and overlaps the shingles correctly.
-
Inadequate Ventilation: If the roof lacks proper ventilation, it can shorten the lifespan of the shingles and lead to moisture problems in the attic.
-
Underlayment Issues: Ensure that underlayment extends properly to the edges and is not wrinkled or torn, which could compromise its effectiveness.
-
Overhangs and Gutter Alignment: Check that shingles do not extend too far over the roof edge or interfere with gutters. Misalignment can cause water runoff problems.
Take photos of any issues you notice and share them with your contractor. This ensures clear communication and a quick resolution.
What to Expect After Installation
-
Manufacturer Warranty: Your shingles will typically come with a manufacturer's warranty (e.g., 25-50 years, depending on the product).
-
Workmanship Warranty: Many contractors also provide a workmanship warranty, which covers installation errors for a certain time frame.
Keep all documentation, including warranties and receipts, for future reference. This will come in handy if you ever decide to sell your home.
The process of an asphalt shingle roof installation may seem extensive, but it's an efficient, step-by-step operation designed to provide long-lasting protection for your home. By understanding each phase—from preparation and tear-off to the installation techniques themselves—you'll feel confident and informed throughout the project. Your new roof is a significant investment, and when installed properly, it will protect your home and family for decades to come.
Ready to start your roof project? Get quotes from qualified contractors to see what your roof replacement will cost and find the right team for the job.